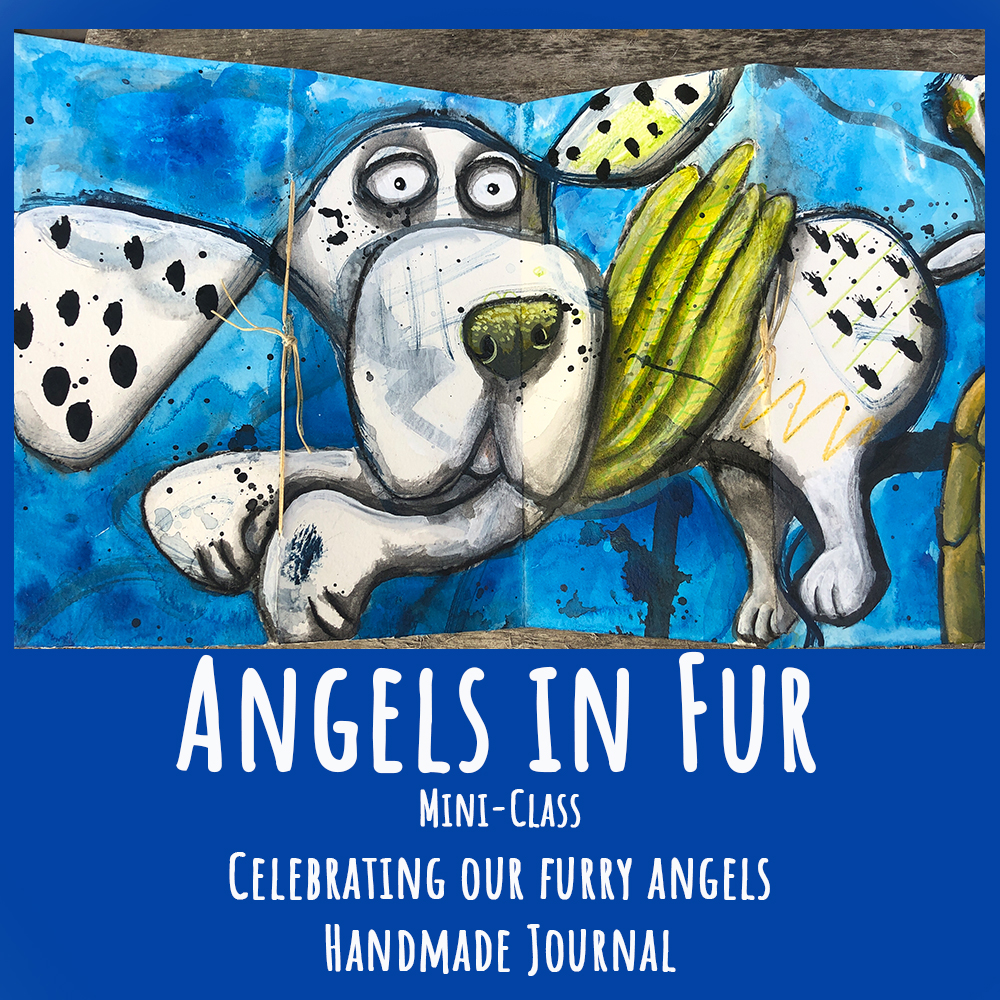
Angels in Fur – a mini lesson

Current Status
Not Enrolled
Price
Closed
Get Started
This class is currently closed

Welcome to the Angels in Fur Main Classroom Page!

Hello fellow critter lovers!

The classroom is open. Don’t forget to join the Jennifer Steck Arts FB Community where you can share your work and ask questions. Everyone is wonderful and very supportive.  I will be in the group at least several times a week.

Scroll down to the bottom of the page to find links to the different parts of the lesson. I can’t wait to see what you create!

Supply List

As always, I encourage you to use what you have and especially the colors you love. Watercolors, craft paints, collage, watercolor pencils…there are so many options. Below is the list of supplies I used in these lessons.

Golden Fluid Acrylics-
Titanium White, Carbon Black, Shading Gray, Diarylide Yellow, Phthalo Blue (Red Hue), Gold Green

Dailer Rowney Inks-
Indigo

Miscellaneous Mark Making Supplies:
Colored pencils
Regular pencil

Matte Medium or other glue for collage

Stabilio Marks All Black Pencil
Bone folder
Waxed book thread or cord
Tapestry needle
Awl
Masking tape
Spray bottle
Brushes in a variety of shapes and sizes
18″ x 24″ 140# watercolor or mixed media paper
Paper you can cut into 8″ x 6″ pieces for journal signatures
Krylon Workable Fixative

Creating Your Accordion Journal

(I show all the steps for creating your journal in Part One of the lessons. I decided to add more details here just in case it’s not clear in the video.)

Below are some basic instructions on how to create your accordion journal. You can use different sizes of paper and even tape pages together to create a larger piece. I suggest making the number of page folds even for the journal to have a definite cover and and back page.

  1. I’ve used 18″ x 24″ 140# watercolor paper
  2. Fold paper in half on the shorter side. In this case, I folded the 18″ side into two 9″ sections
  3. Divide the long side (24″) by 6 so there are six pages with three gullies. Make folds every 4″.
  4. Follow the video instructions and tape the back of the gully sections to provide extra strength to areas we add stitching
  5. Stitch together journal in the three gully sections, leaving the knots on the outside (or inside if you prefer)
  6. Add signatures (sets of pages) by sewing them into the gullies 8″ x 6″ folded in half (I used four pieces per signature)
  7. Decorate and use to your heart’s content.